


diy: all-natural wood finish
- Melinda

- Mar 21
- 5 min read
Updated: Mar 27

(jump straight to recipe)
diy: all-natural wood finish
I find it incredibly exciting to witness the introduction of more and more eco-friendly options as the years go by. Sure, we still have a long (long) way to go, but at this point in my journey I'm able to find more products than ever before. In the interests of time and convenience, it's always nice to be able to purchase a product already made, but there is still very little—perhaps nothing, even—that is cleaner and more eco-friendly than the recipes I prepare here at home.
Crafting my own products not only makes me feel gloriously self-sufficient, but it also gives me full control over the ingredient list and eliminates all concerns about safety and indoor air pollution. So for today's post we're going to talk about one of my favorites, due in large part to its glorious simplicity: this all-natural wood finish. It's a breeze to make, a breeze to use, completely safe, naturally effective, and it smells heavenly. I call that a serious win.
I've tackled two separate projects for this tutorial—both pieces handcrafted by my talented little brother. First, I have Project Cutting Board, followed by Project Adorable Tree. I'm going to share the written directions first and then follow that up with some photos of both projects. At the end of this post, I'll also share an eco-friendly varnish that I actually purchase, and one which I regularly rely on when I'm in need of a thicker protective layer than this diy wood finish can offer. It's a pretty great company and I encourage you to check them out. They're my go-to for all of my painting needs.
for the love of bees
The original recipe for this wood finish included beeswax, but as a vegan that wasn't an option for me. Those bees work their little tails (stingers?) off making honey to raise their family, and I wasn't about to steal it so that I could protect a cutting board. Fortunately, I found that replacing the beeswax with carnauba wax made no difference at all—except to the sweet bees, of course. And with that small adjustment, I was off and running!
supplies
1 tablespoon carnauba wax
3 tablespoons coconut oil
6 drops lemon essential oil (optional)
clean rags
directions
Using a double boiler, heat your carnauba wax until it's completely melted. If you don't own a double boiler, you can use a heat-safe glass measuring cup placed in a small saucepan filled with several inches of water; just take care not to get water into your wax.
Add in the coconut oil and stir until melted. If adding lemon essential oil, do so now. Thoroughly mix together all ingredients before pouring the mixture into a small glass container.
Allow your wax to cool completely before working with it. Once cooled, your wax mixture should be solid, but not so hard that you can't easily scoop it out.
Using your finger or a clean rag, rub the piece of wood with enough wax to thoroughly cover it. I'm not sure how deeply the wax penetrates the wood, but I give my projects several long and leisurely minutes to absorb as much as they want to.
Using another clean rag, buff off all of the extra wax from your wood. Your piece should feel beautifully soft at this point, but not really oily.
project cutting board
This lovely board was gifted to me unfinished, which wasn't only perfect for me, but for this tutorial as well. I've used this wood finish recipe on both unfinished wood and wood that's already been stained; I find that it works equally well in both situations, and I have an example of each below.
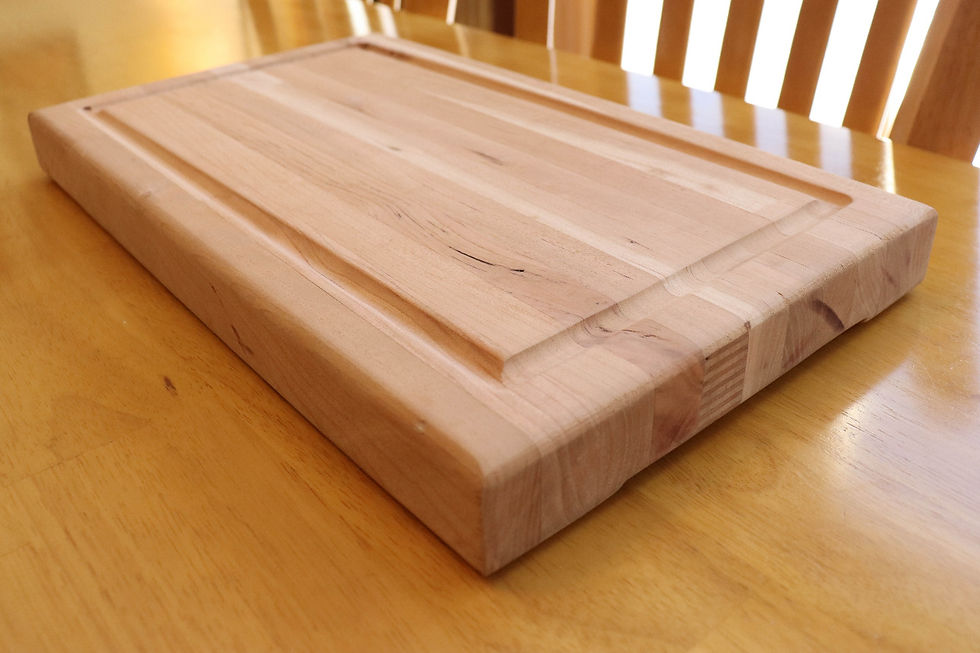
My beautiful, unfinished cutting board before I began...
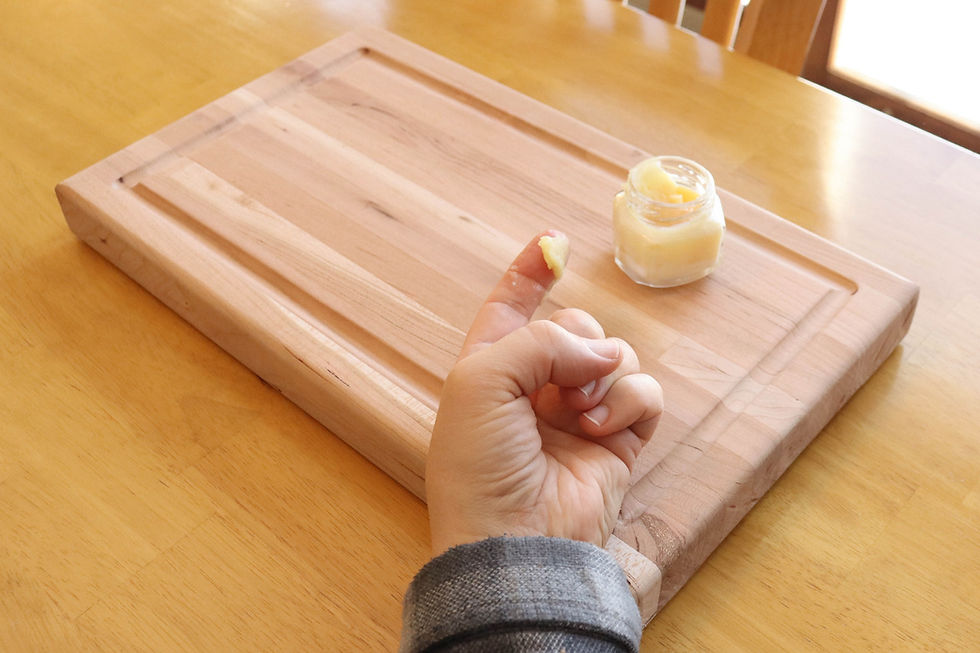
The wood finish (and board) just before I begin applying the wax. The wood finish is solid but still soft enough to scrape from the container.
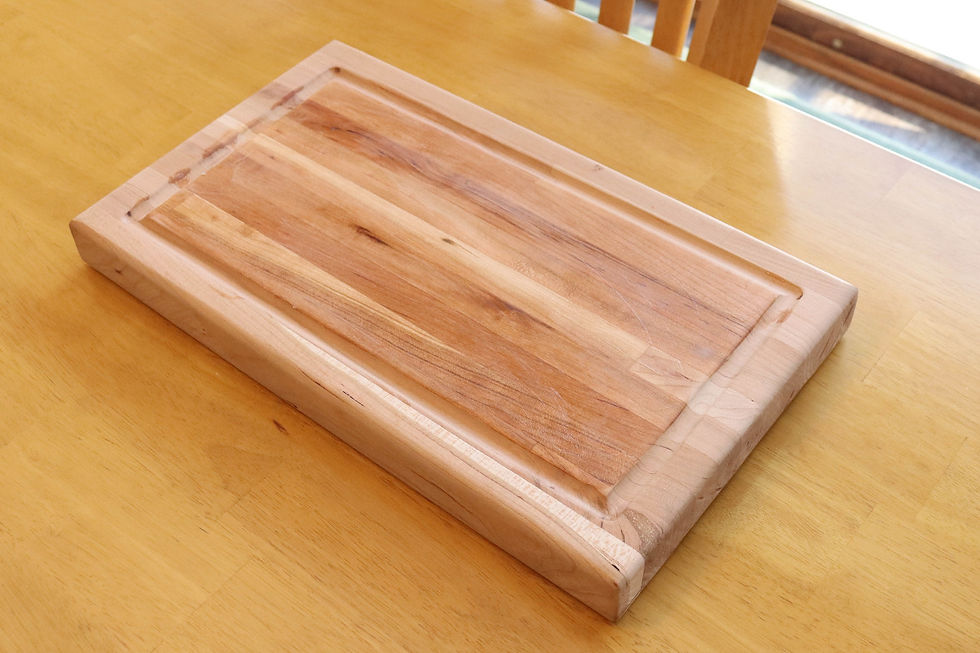
I've applied the wood finish to the interior rectangle of this board. You can see the obvious color difference.
project adorable tree
The cutting board was super easy to finish; it's small, flat, and smooth. But I've also done other projects which weren't quite as small, like the cupboard in my kitchen and the door leading to my basement. They were both finished years ago (two of my very first projects, I believe), and they still look fabulous to this day. (Update since when I first wrote this post: the cupboard has since had a makeover, but the finish looked great right up until the end!)
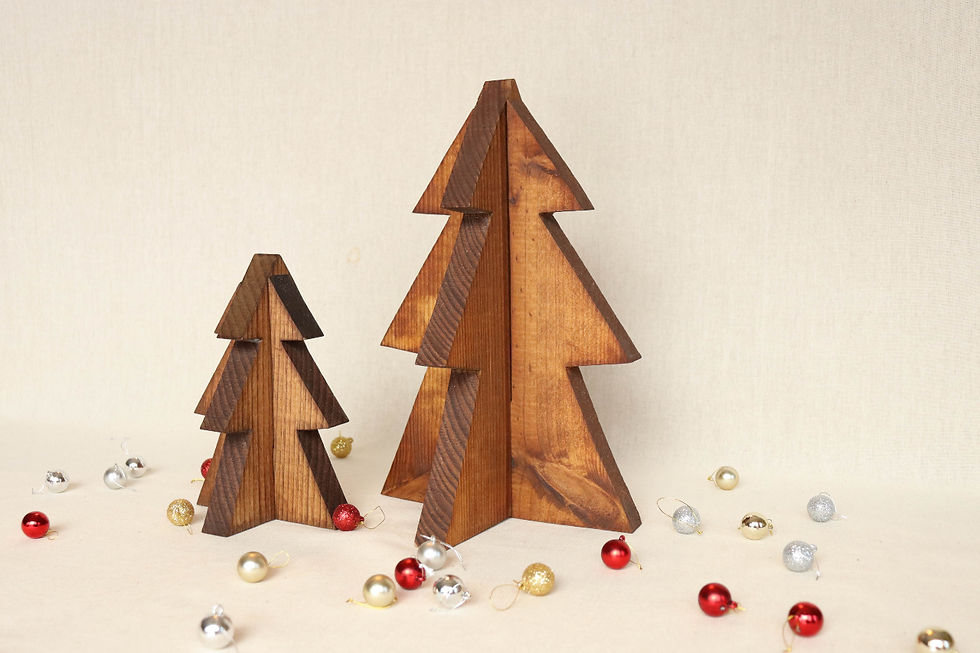
This little tree was a bit trickier, only because of the raw edges. Even so, the project wasn't at all hard, and the end result was quite lovely. In the first picture below, the tree on the right is finished while the one of the left is not. As an aside, these little trees were stained using my all-natural wood stain recipe.
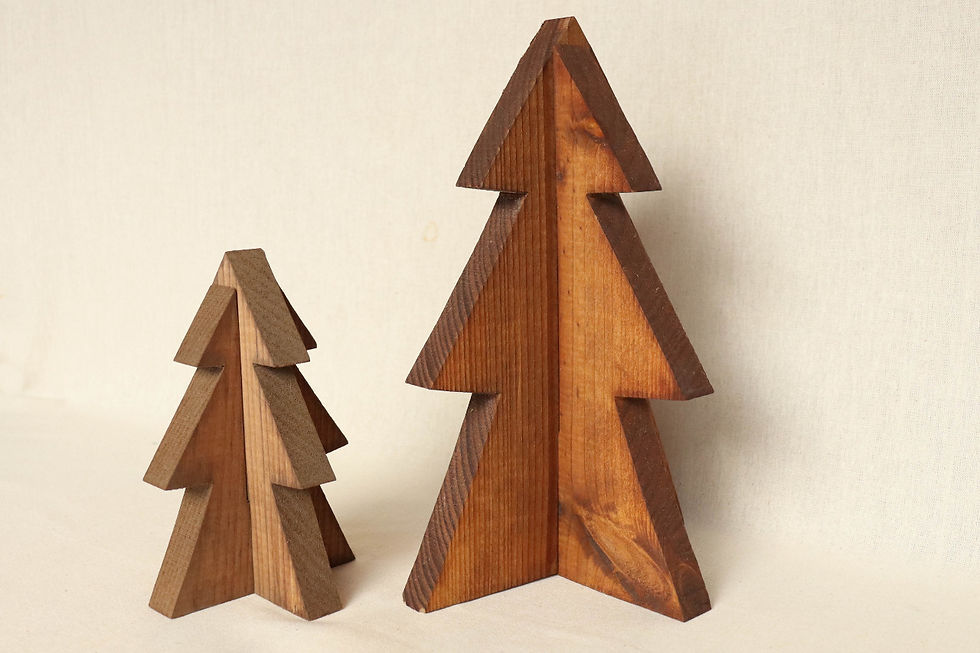
The small tree on the left has yet to be finished; note its rather drab appearance.
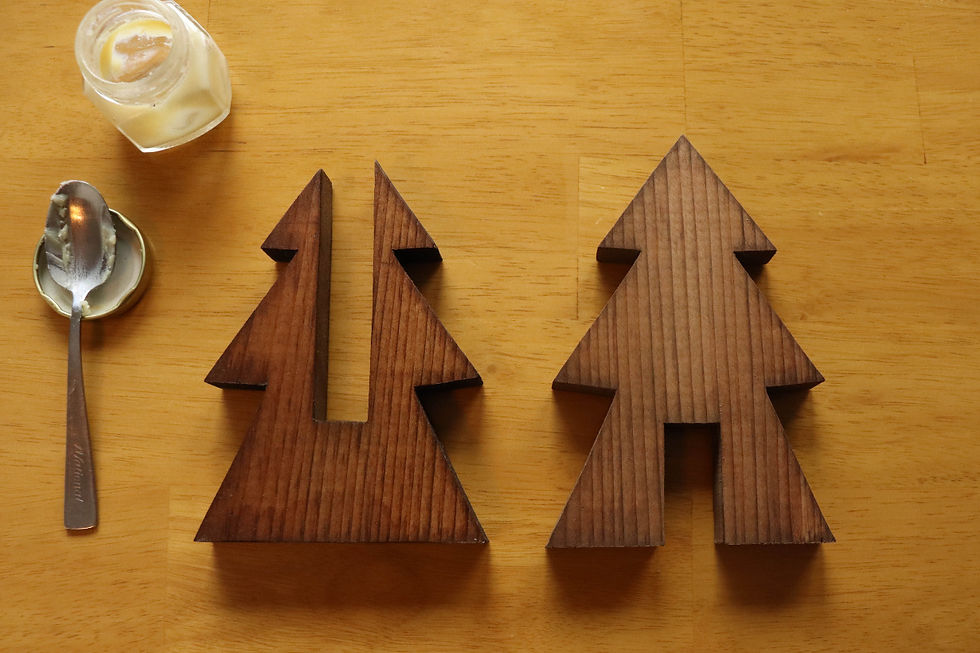
A work in progress...
when wax isn't quite enough
While I love this wax finish, I'll be the first to admit that sometimes I need more. There are some projects where I'm in need of a finish that protects from more than just water damage, like the gorgeous table I inherited from my dearly departed Gramma B. It's made of soft pine and the slightest (and I mean slightest) thing will scratch it. It was in pretty sad shape by the time I gathered the necessary energy to give it a makeover, and after a heavy sanding, I knew I needed something more robust than this wax finish. My solution? Ecos Paints to the rescue.
I discovered Ecos Paints quite a few years ago, and it's the only company that I now rely on for all of my painting needs. They also make a collection of non- toxic wood varnishes that feel pretty safe—safe enough that I've used them for several big jobs around the house (like this chest). Remember, the table below does not have this diy wood finish recipe applied to it, but instead a varnish that I purchased from Ecos Paints. I just figured it would be nice to share all of the eco-friendly companies that I regularly support. Plus, admire my table, if you will. I thought my arms would fall off before the sanding was complete, but she is now a glory to behold.

pretty cool, right?
And that'll do it for today! Perhaps my DIY all-natural wood finish requires a bit more effort to make and apply than simply brushing a product on, but if you're looking for a completely chemical-free solution, this one really is super! And there you have it: another eco-friendly solution. Thanks so much for reading and have a super day!
Much love,
Melinda


.jpg)
.jpg)

Comments